Create on BNB Chain
Everything you need to go from idea to a live NFT collection — collections, schemas, templates, minting and drops. No code, just a wallet.
Before you start
An EVM wallet
MetaMask or any BNB Chain–compatible wallet.
BNB Chain network
Add & switch to BNB Smart Chain in your wallet.
A little BNB
To cover gas on deploys, mints, listings and claims.
How it works
Five steps take you from a fresh collection to a live, sellable drop. Each links to its tool — jump in anywhere.
Create a Collection
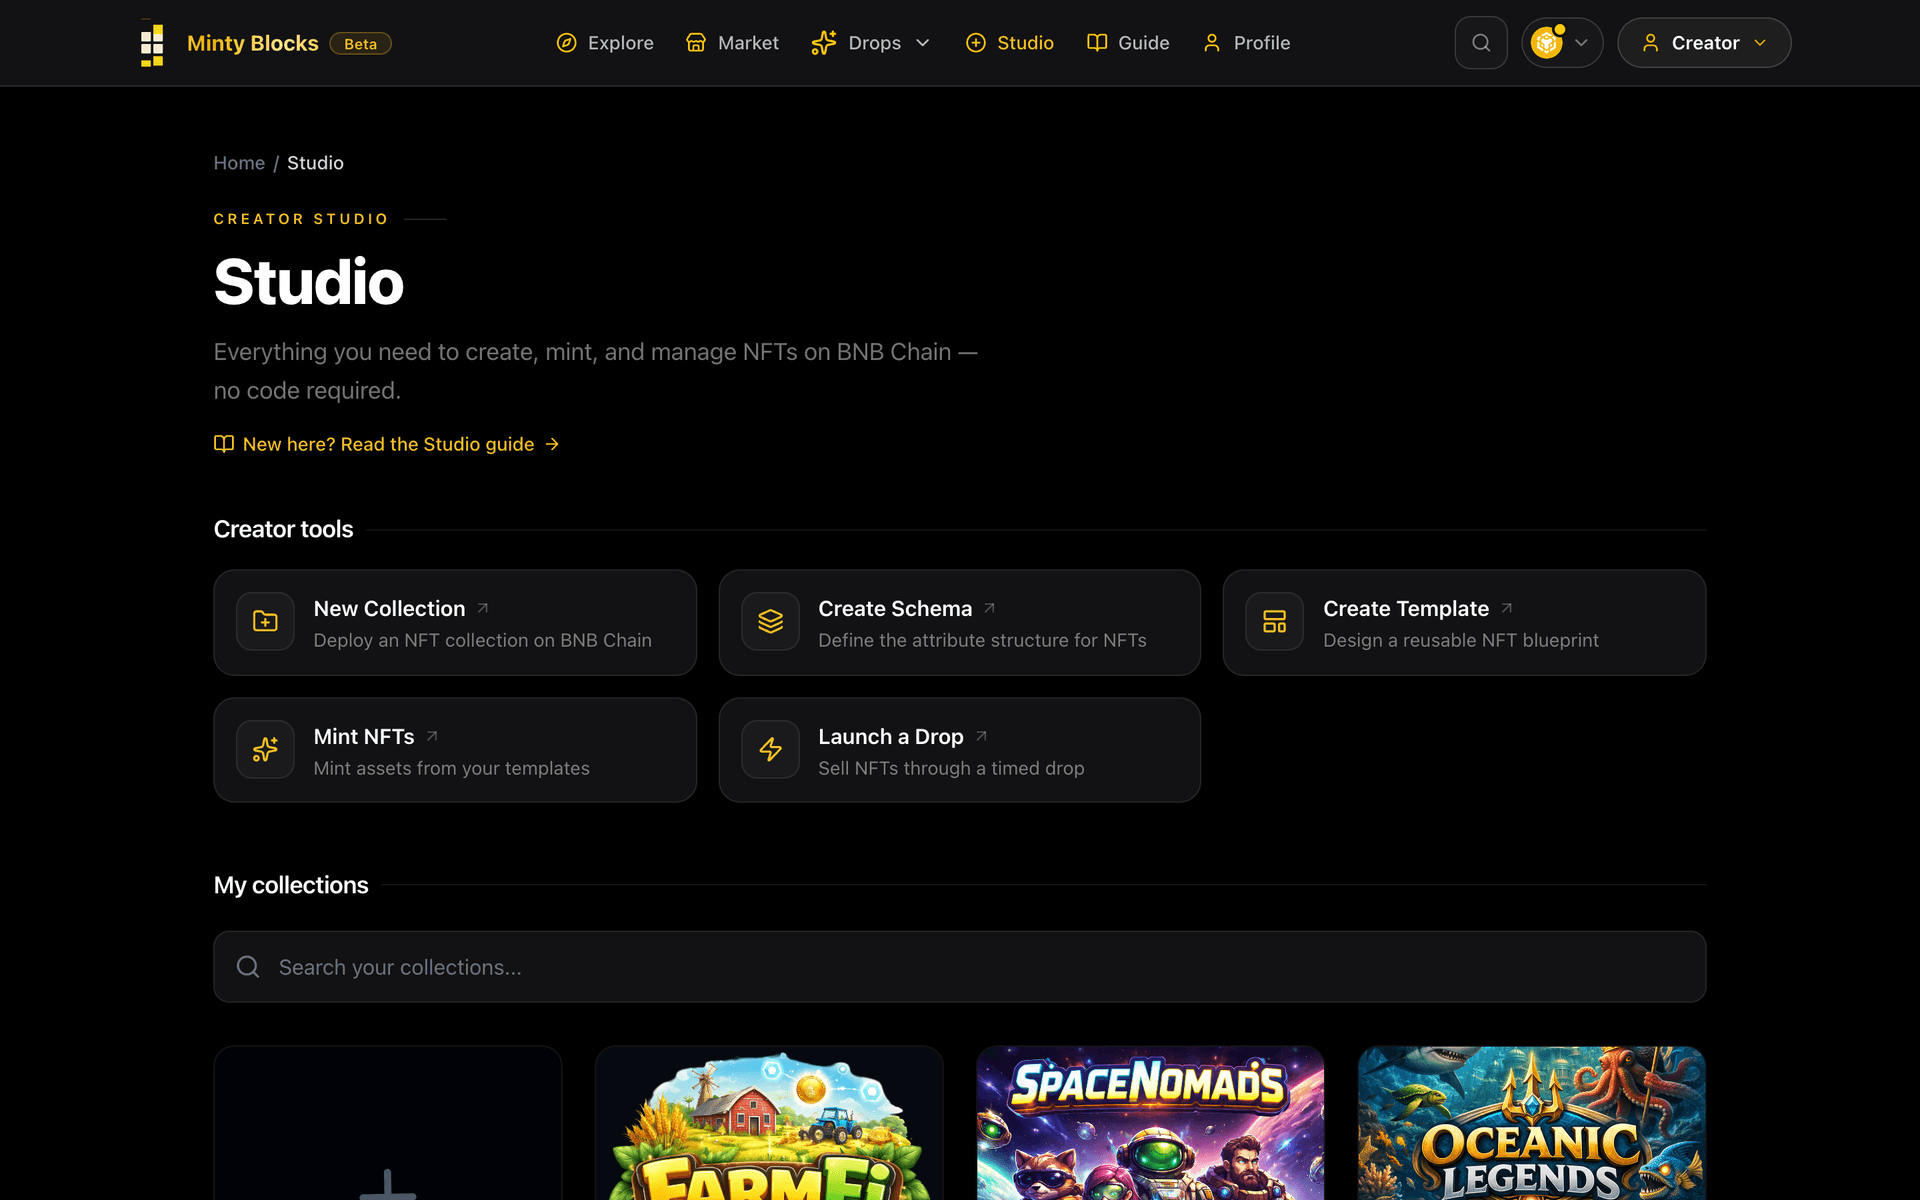
A collection is your own smart contract on BNB Chain. Everything you build — schemas, templates and minted NFTs — lives inside it, and the deploying wallet is its owner. Open Studio and choose “New Collection” to start.
- 1
Identity
Set how your collection is identified on-chain and across marketplaces. Name and symbol are permanent once deployed.
- Collection Name: The full on-chain name of the contract (e.g. “Minty Genesis”).
- Symbol: A short ticker for the collection (e.g. “MG”).
- Display Name & Description: The public name and summary shown on collection and marketplace pages.
- 2
Standard & Royalties
Choose the token standard and your secondary-sale royalty, paid to you on every resale.
- Token Standard: ERC-721 for unique 1-of-1 assets, or ERC-1155 for multi-edition assets.
- Royalty Fee: Your cut of secondary sales, capped at 10%. Set 0 for none.
The 10% cap is enforced before deployment — higher values are rejected.
- 3
Media & Socials
Upload a logo/banner and link your brand. Socials appear on your public collection page to build trust.
- 4
Review & Deploy
Confirm every field and approve the transaction — deploying costs a small amount of BNB in gas. Your collection then appears in Studio.
Only the owner (or wallets the owner authorizes) can create schemas, templates and mint inside a collection.
Define a Schema
A schema is the attribute blueprint every NFT built on it shares. Define it once, then reuse it across many templates. Only the collection owner (or an authorized creator) can create schemas.
- 1
Pick the Collection
Choose which of your owned collections the schema belongs to, via the searchable dropdown.
- 2
Name & Attributes
Name the schema, then define its attributes — each has a name and a type. These become the fields your templates and NFTs carry.
- Schema Name: Unique within the collection (e.g. “character”). Cannot duplicate an existing schema.
- String: Free text — name, rarity, faction.
- Image: An image reference (IPFS/URL) rendered as the NFT media.
- Number (uint64): Whole numbers — stats, levels, XP.
Up to 50 attributes per schema; each name must be non-empty and unique.
- 3
Extend Later
Schemas can be extended after creation to add new attributes as your project grows — existing templates keep working.
Create a Template
Templates are reusable NFT blueprints built from a schema. Every NFT minted from a template shares its immutable data; only the mint number and any mutable fields differ. Templates decide whether an NFT can be transferred or burned.
- 1
Collection & Schema
Pick the collection, then the schema that defines this template’s attributes — the Studio cascades from your selection.
- 2
Properties
Set the on-chain rules for every NFT of this template. These flags are enforced by the contract.
- Transferable: If OFF, NFTs are “soulbound” — they cannot be transferred, sold or listed anywhere. Ideal for badges, credentials and tickets.
- Burnable: If ON, holders (or an approved address) can permanently destroy the NFT.
- Max Supply: The hard cap of mints for this template. Set 0 for unlimited.
A non-transferable template can still be burnable — burning is not a transfer, so soulbound assets can still be destroyed.
- 3
Immutable Data
Fill the schema attributes with the values shared by every mint (name, image, base stats). Written once, never changed — that’s what makes each edition identical and verifiable.
- 4
Review & Deploy
Confirm and sign. Your template is now mintable — from the Mint tool or a drop.
Mint NFTs
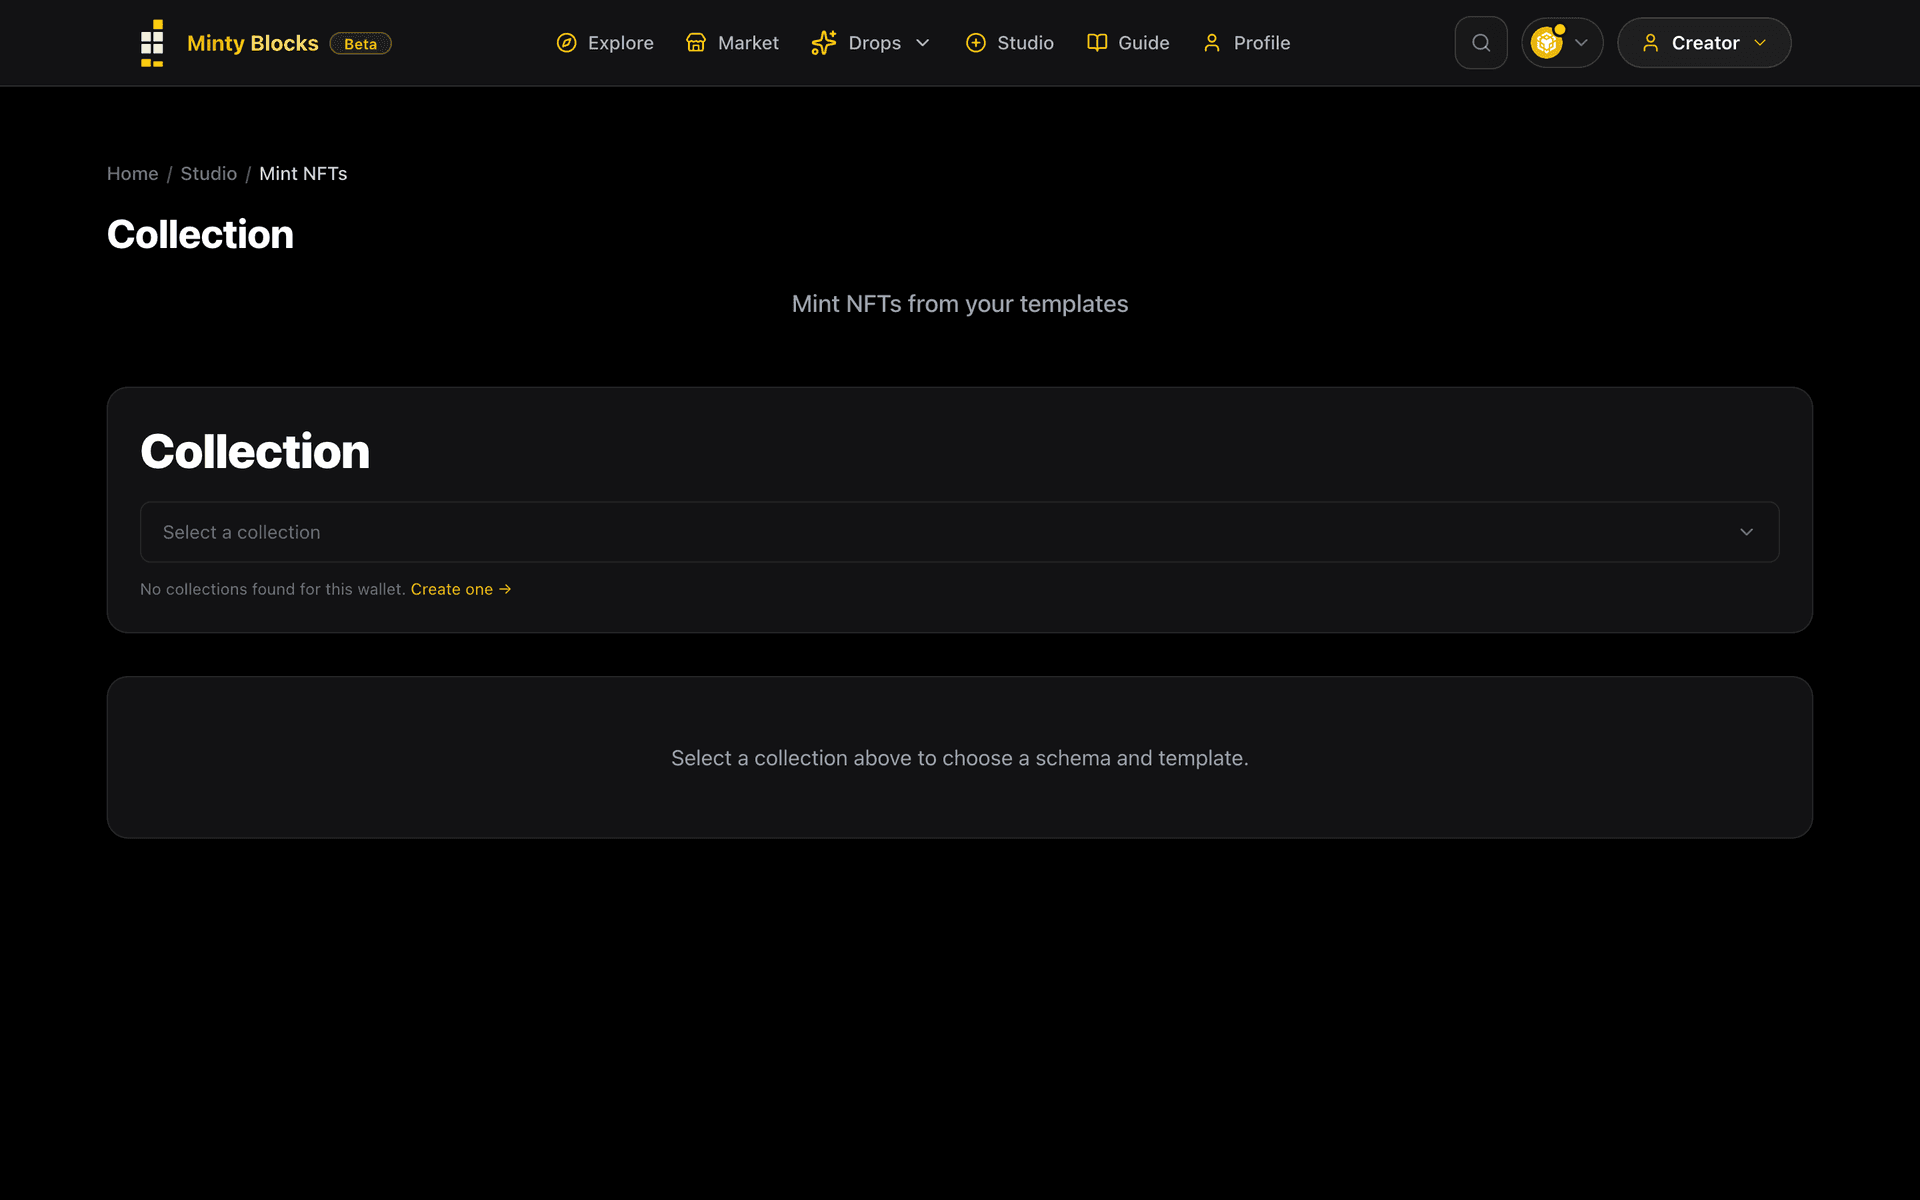
Minting creates real assets from a template and sends them to a wallet. Each mint gets its own on-chain mint number while sharing the template’s immutable data.
- 1
Collection → Schema → Template
The tool cascades: select a collection, then a schema, then a template. All three dropdowns are searchable.
- 2
Recipient & Attributes
Enter the wallet that will receive the NFT(s) — mint to yourself or airdrop to anyone. Minting is capped by the template’s max supply.
- Recipient: Any BNB Chain address — your own wallet or a collector’s.
- Mutable Attributes: Optional per-NFT values (e.g. a starting level) you can update later, unlike immutable template data.
- 3
Confirm
Approve the transaction. The NFT appears in the recipient’s Profile and can be listed on the marketplace if the template is transferable.
Launch a Drop
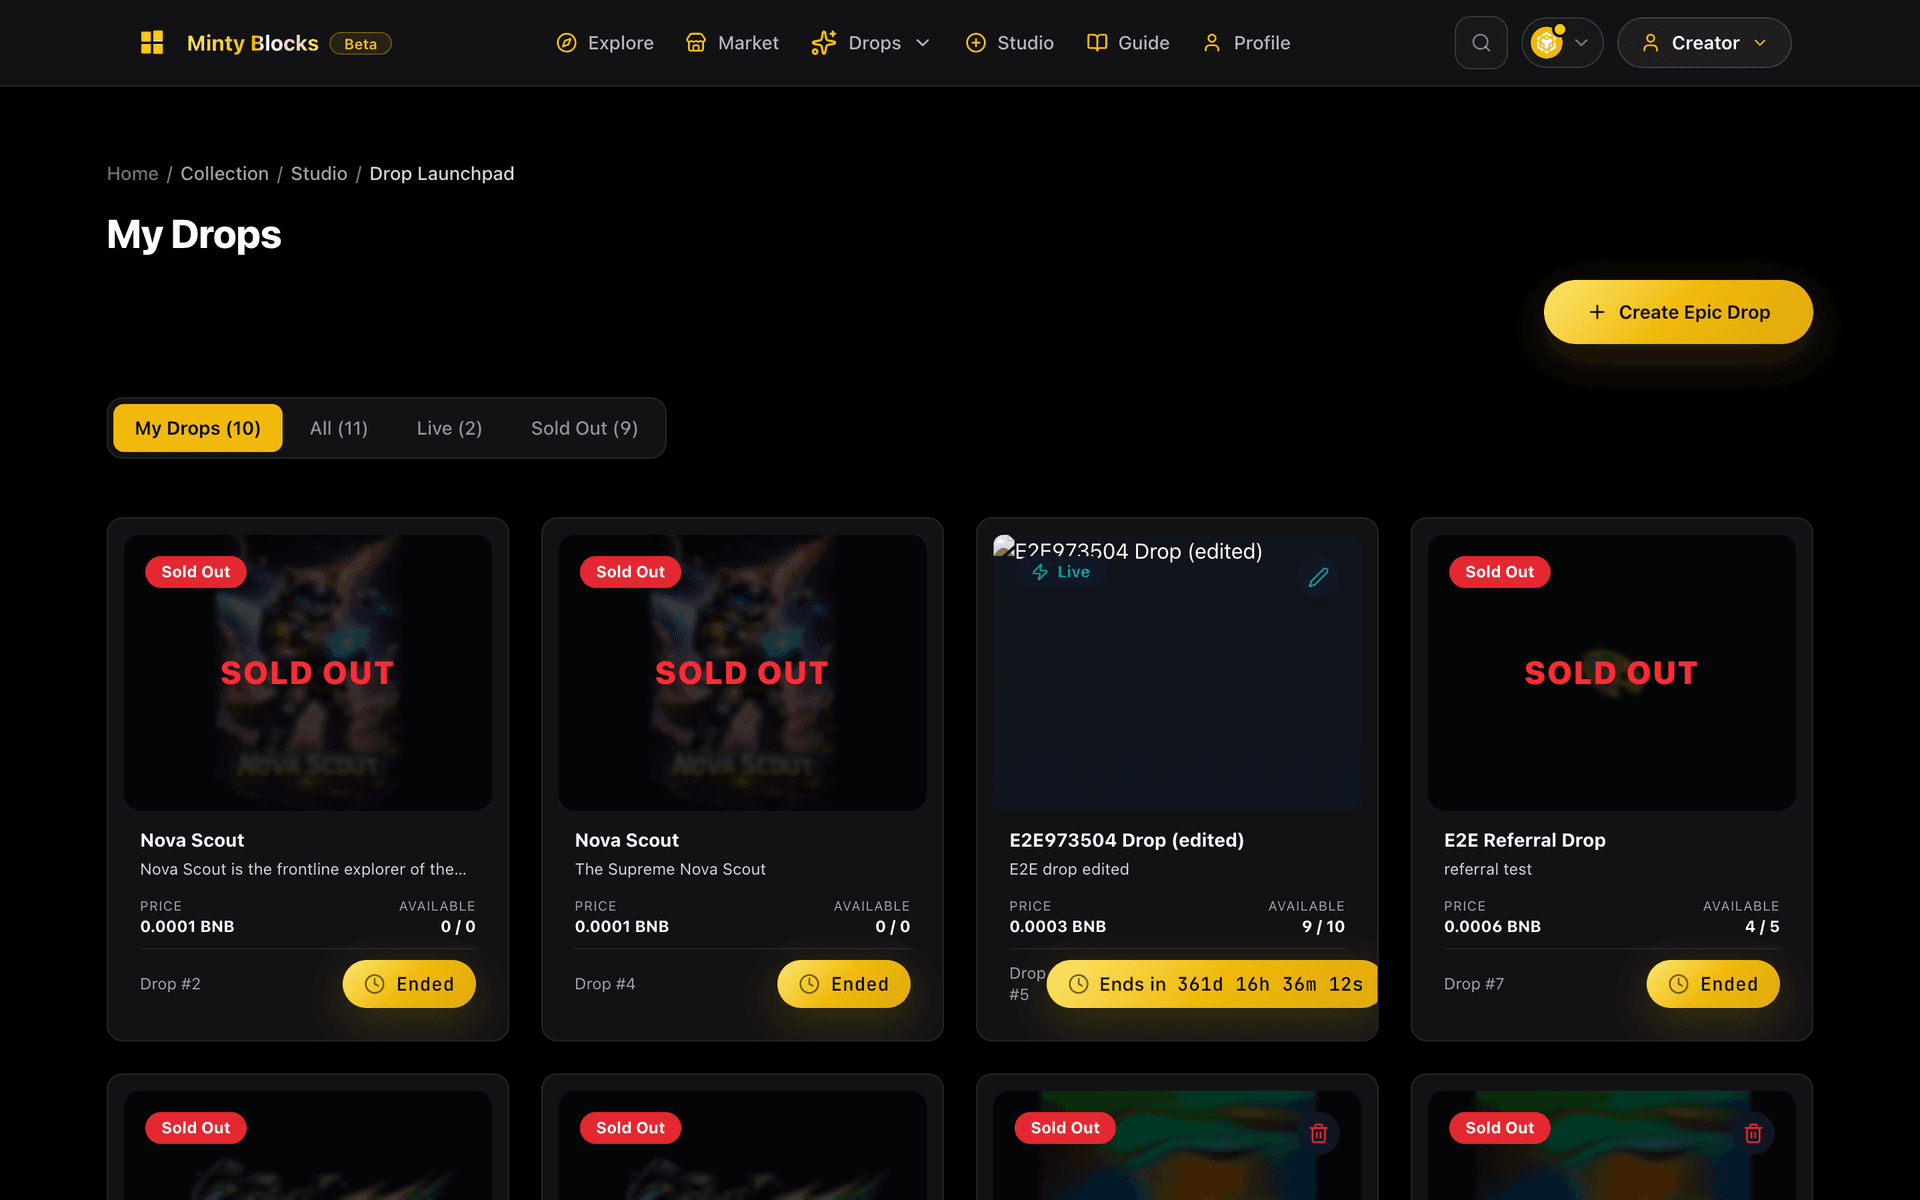
A drop is a timed, public mint. You pick a template; collectors claim from it directly, paying your price. Payments (minus a small platform fee) go to your chosen recipient wallet.
- 1
Collection & Template
Choose the collection and the template collectors will mint. The Studio checks the template exists so a drop can’t go live pointing at a missing one.
- 2
Price & Payment
Set the claim price and who gets paid.
- Price: Amount per claim, in BNB or USDT. Set 0 for a free drop.
- Price Recipient: The wallet that receives claim payments (defaults to you).
- Referral Fee: Optional percentage paid to referrers who bring claimers.
- 3
Supply & Limits
Control scarcity and fairness with global and per-wallet caps.
- Max Claimable: Total number of NFTs the drop can hand out.
- Per-Account Limit: How many a single wallet may claim (0 = unlimited).
- Cooldown: Optional wait time between claims from the same wallet.
- 4
Schedule & Deploy
Set the start and end time (start before end), review, and sign. Your drop appears on the public Drops feed where anyone can claim — connecting a wallet only at the Claim step.
You can edit price, supply and timing after launch from the drop’s detail page.
Advertise on MintyBlocks
Put your collection, drop or project in front of everyone who lands on the MintyBlocks homepage. The homepage runs two banner slots that rotate; you book a slot for a time window, pay in USDT, and your banner goes live automatically for the range you paid for. The whole thing is self-serve from the Advertise page — no email, no waiting on a sales team. This is how the flow works end to end.
- 1
Connect your wallet
Open the Advertise page and connect the wallet you want to pay and manage the ad from. Until a wallet is connected you'll see a Connect Wallet card instead of the form — the same wallet is used to pay in USDT and to list your active and upcoming banners.
- 2
Design the banner
Upload your creative and add the title, a short description, and the click-through link people go to when they tap it. Static images (JPG/PNG/WebP up to 2MB), GIFs (up to 4MB) and short videos (MP4/WebM, up to 8MB and 20s) are all supported.
- Crop: Static images open a cropper so you can frame the banner to the exact 696×402 slot before it uploads — what you crop is what shows on the homepage.
- Link: Must be a full http(s) URL. This is where a click sends the visitor, so point it at your collection, drop or site.
- 3
Pick a time window
Choose a start and end time. Ads are priced per time period (a fixed slot length), so the duration you pick must be a whole number of periods — the form tells you the minimum and rounds you to valid windows. The start can't be in the past.
- 4
Choose an available slot
The homepage has two slots. Once your dates are valid the form checks availability and shows which slots are free for that exact window. A slot that's already booked for an overlapping range is marked Booked and can't be selected — pick the other slot, or shift your window until a slot opens.
Availability is per time range: a slot booked for next week is still free for you today. The check re-runs whenever you change the dates.
- 5
Pay in USDT
Review the total — it's the number of periods × the per-period price, shown before you commit — and confirm the USDT transfer in your wallet. Payment is a normal on-chain BEP-20 transfer to the MintyBlocks receiver; you pay the network gas as usual.
- 6
Automatic verification & publishing
There's no manual approval step. After you pay, MintyBlocks verifies the USDT transfer on-chain — it checks the amount, the receiver and that the payment hasn't already been used — and re-confirms your slot is still free. Once that passes, the ad is recorded and published automatically: it goes live at your start time, rotates with the other slot while it runs, and expires at your end time.
Your active, upcoming and past banners are all listed on the Advertise page, so you can see status at a glance.
Selling & the marketplace
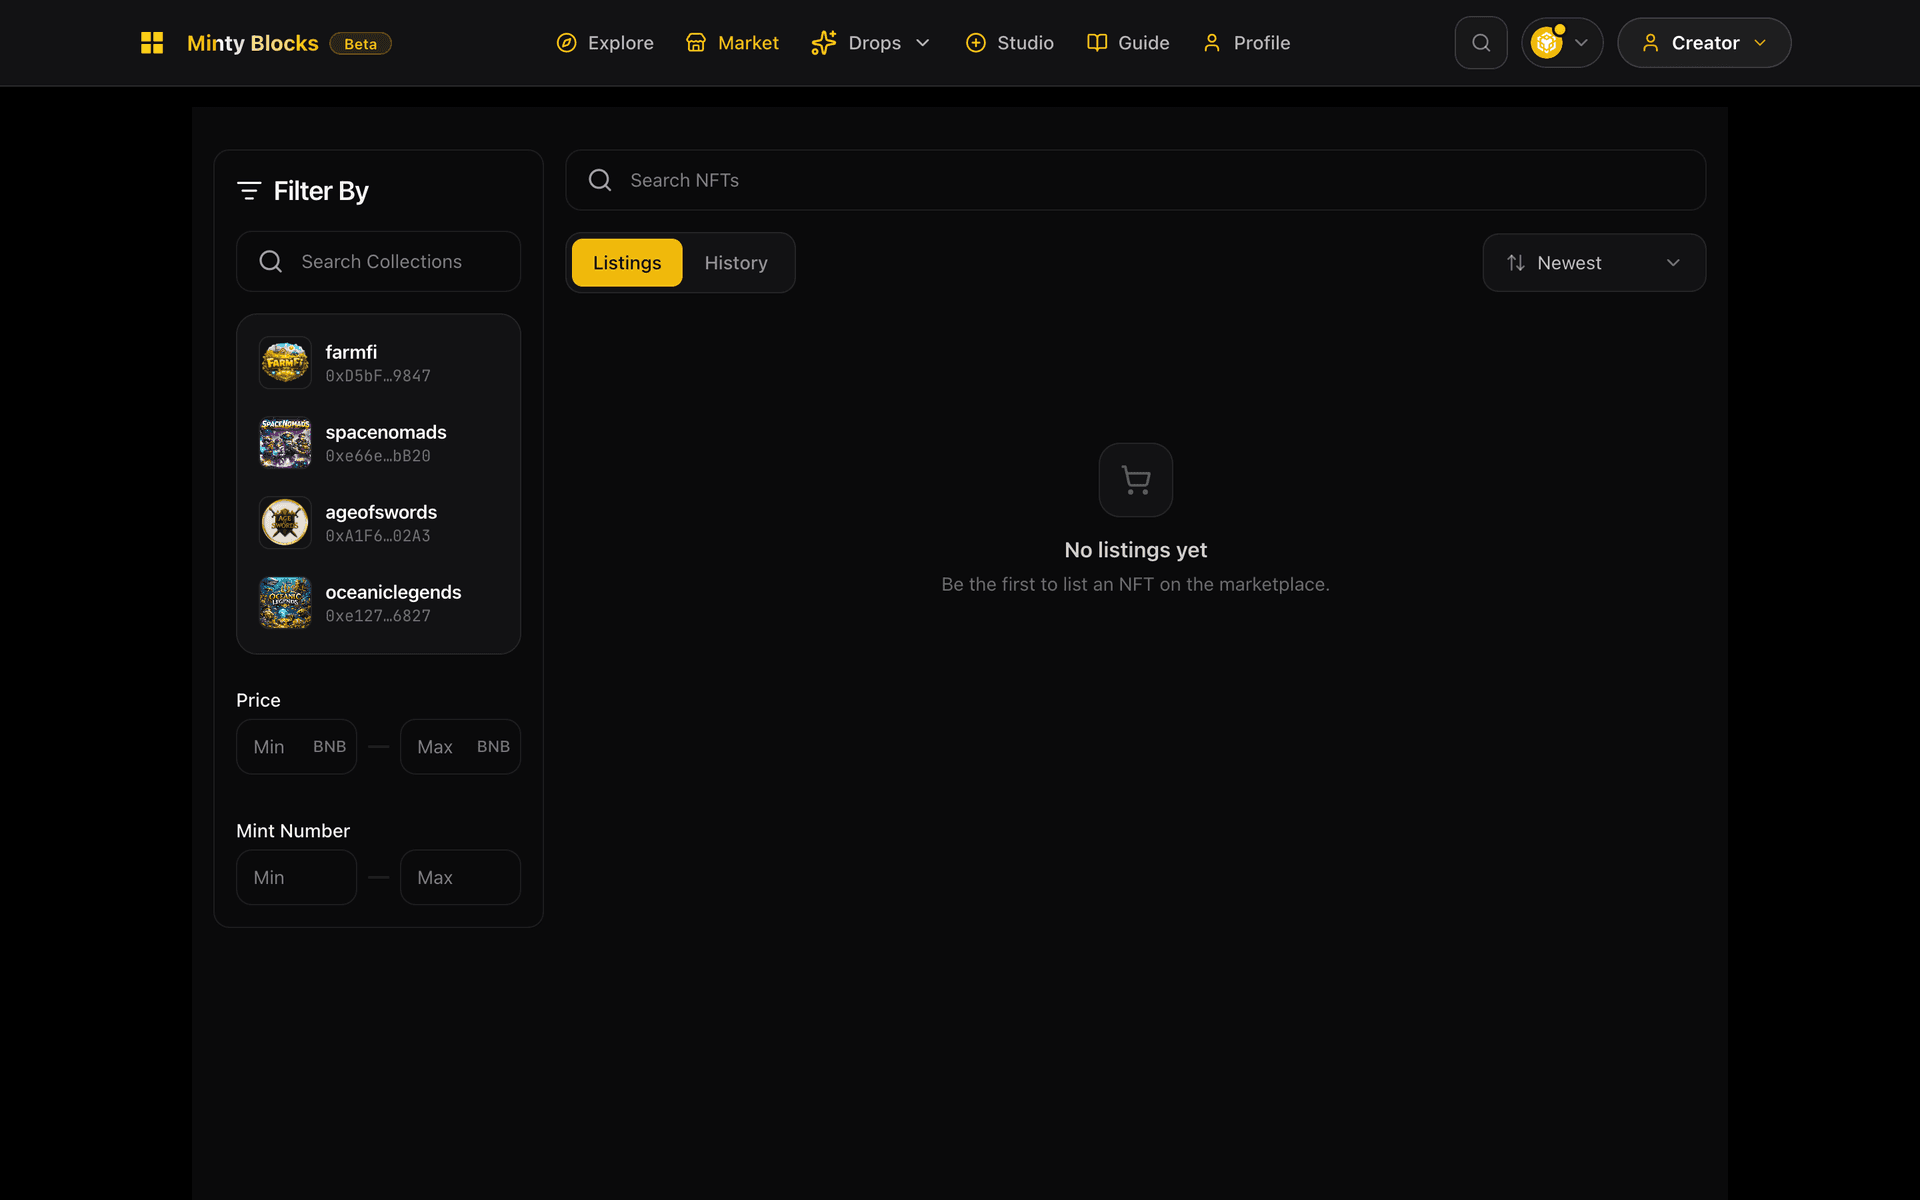
Once minted, transferable NFTs can be listed on the marketplace at a fixed price in BNB or USDT. Buyers browse and purchase freely; a wallet is only needed at checkout. Soulbound (non-transferable) assets can’t be listed — that’s enforced on-chain.
Fees at a glance
Frequently asked
Do I need to sign in to browse?
Yes. Sign in to browse MintyBlocks. You also connect a wallet when you take an on-chain action — buy, list, mint, claim — or open Profile and Studio.
What is a “soulbound” NFT?
An NFT from a template with Transferable turned OFF. It cannot be transferred, sold or listed — the rule is enforced by the contract. Use it for non-transferable badges, credentials or tickets.
Can I change a template after minting?
Immutable data is permanent by design. You can update an NFT’s mutable attributes, and extend a schema with new attributes for future templates.
Who can create inside my collection?
Only the owner wallet, plus any addresses the owner authorizes. Schemas, templates and minting are all owner-gated.
Ready to build?
Start with your first collection — you can do the rest anytime.